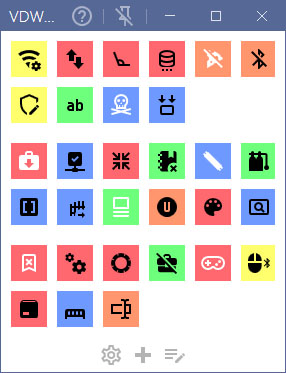
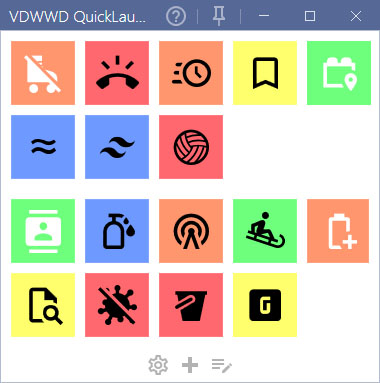
Quick Launch Panel in WPF

Are you using a lot of the same programs or open the same files over and over again? Usually you create a shortcut on the desktop. But now you can also put them in a simple WPF program that is always on top of other programs so you can trigger your shortcut with one simple click.
App key features
- Add a shortcuts to programs, files, websites or email addresses.
- Set your own icon for the shortcut.
- Set the color of the button and the icon per shortcut.
- You can define the number of columns, groups or button size.
- Tracks the number of click and date last used.
- Has a Dark Mode color scheme.
You can also download the app here as a stand-alone executable.
Download the App
Quick Start Guide
You can start by adding shortcuts by clicking the Plus button at the bottom.
The App will create a file to store all the shortcuts and settings named
QuickLauncher.settings. You can copy this file to another computer so you can use your shortcuts on multiple devices without having to input them twice.
Advanced users can edit this file directly to add / edit / delete shortcuts or change the settings. You could add shortcuts quickly by adding the below snippet per shortcut to the settings file.
                                <shortcut>

                                  <name>{NAME}</name>

                                  <executable_path>{PATH}</executable_path>

                                  <icon>{ICON}</icon>

                                  <group>{GROUP}</group>

                                </shortcut>
To edit a shortcut click the Edit button at the bottom. It becomes red after clicking. When it is red, click the shortcut you want to edit and the shortcut edit window will open.
Group number in which the icon will be shown.
If it is a new shortcut the slider will change the value of the Button color input. The color will be that of the first existing shortcut in that group so you do not need to manually keep all the shortcuts in a group the same color.
Name
The name of the shortcut. This will be used for sorting and the Tooltip that will be shown on hovering the mouse over the shortcut.
Executable path
The path to the program / file you want to execute. You can open the File Dialog by clicking the button next to the input field.
Here are some examples for shortcuts:
| Windows Explorer | C:\Windows\explorer.exe |
| A website | https://www.vanderwaal.eu |
| An email address | your@emailaddress.com |
| Any type of file | C:\Users\{user}\Documents\ExcelFile.xlsx |
Extra arguments
Specify the extra arguments that are executed with the shortcut. So if you want to open Windows Explorer in a specific folder you could set the value to: C:\Windows\Logs
Icon path
A WPF app uses Path to draw an icon. So you can paste the icon as Path. But you can also input an SVG image or an icon name from Material Design Icons.
Here are some examples for Icon paths:
| A standard path | M9,20.42L2.79,14.21L5.62,11.38L9,14.77L18.88,4.88L21.71,7.71L9,20.42Z |
| Material icon name | check-bold |
| SVG image | <svg><path d="M9,20.42L2.79,14.21L5.62,11.38L9,14.77L18.88,4.88L21.71,7.71L9,20.42Z" /></svg> |
Button & Icon color
Set the colors for the button and icon in HEX. You can use the Color Picker by clicking the button next to the input field.
Index number
Choose an index number. This will be used for sorting the shortcuts when you set the sorting to "Index number" in the Settings window.
MaterialIcons GitHub download UR
When the App is opened for the first time it will try to download a zip file from that URL. That zip file will contain all the icons from Material Design Icons.
The zip file is processed for svg files and the icon name / path combo is stored in a list. That list will be stored in the file
QuickLauncher.IconPack.json.
So when you enter the name of an icon when adding a shortcut, the App will look in that json file and set the correct icon path if found.
To force a reload of all the icons just delete the json file from the App folder.
The Check button
This button will check all your shortcuts and see if the file, executable or website is still available. If not it will make the button in the main window red so you can identify the problem and fix it.


